How to Clean Your Dryer Vent
This basic maintenance can protect your clothes from damage, save energy, and most important, prevent a fire
When you shop through retailer links on our site, we may earn affiliate commissions. 100% of the fees we collect are used to support our nonprofit mission. Learn more.
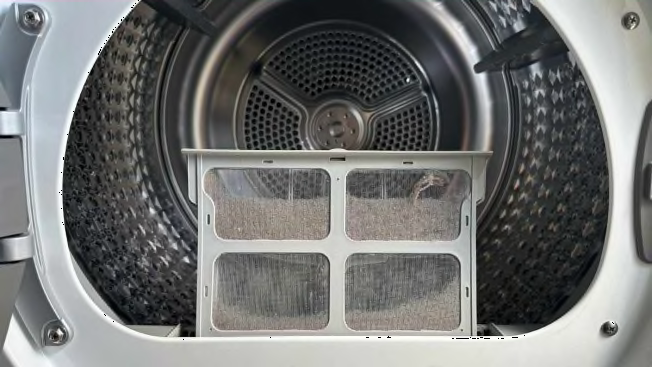
Consider this a spring cleaning wake-up call: Blowing off dryer maintenance can cost you time, money, clothes, and even your house if you’re not vigilant. A neglected dryer poses a serious fire hazard—in fact, some 7,000 fires, 200 injuries, and 10 deaths are attributed to dryer fires each year, according to the Consumer Product Safety Commission. Not cleaning the dryer is the leading cause of the blazes.
Poor dryer maintenance can lead to loads of other problems, too. It can cause automatic cycles to be less accurate, resulting in laundry that’s either damp or dried to a crisp. It can also lead to shrunken clothes, heat-damaged fabrics, and longer drying times. And since dryers are one of the biggest energy-using home appliances, that extra time drives up the cost of your utility bills. Got your attention yet?
Step 1: Empty the Lint Screen
Do this after you dry a load—every single time. If you allow too much lint to build up on the screen, heated dryer air won’t move freely through the machine, which will prolong drying times.
Step 2: Clean the Dryer Vent
Even if you’re diligent about emptying the lint screen, small fibers will get through the trap and into your dryer vent. Left unchecked, this lint can slowly snowball, to the point where an errant spark could lead to a serious conflagration inside the vent. That’s why it’s critical to clean the dryer vent every few months or so, depending on usage and the type of laundry you dry. Drying sweaters or towels will put more strain on your appliance than drying cotton items.
It’s a pretty simple task, assuming you can access the dryer vent by pulling the dryer away from the wall (if not, you’ll need to hire a professional). Always disconnect the dryer from its power source before moving it. Then separate the vent from the dryer and vacuum both ends using the crevice attachment of your vacuum.
Don’t forget to also clean the back of your dryer (where lint can build up) and ensure the duct isn’t damaged, crushed, or restricted. You (or a professional) should also clean your vent shaft between the wall of your home to the outside. This is critical if you currently have an accordion-style vent (a rigid metal duct doesn’t sag and allows better airflow). Make sure your outside vent cover opens while the dryer is operating and you can feel the airflow.
If your dryer takes too long to dry, check for a vent blockage. Many top-rated dryers have duct blockage indicators that signal when it’s time to clean the vent.
Step 3: Clean the Moisture Sensors
Our top-rated dryers all have moisture sensors that work in conjunction with auto-dry cycles to detect the laundry’s dampness and shut off the machine when clothes are dry. Over time, these sensors can get covered with film, especially if you use dryer sheets. The buildup can prevent the dryer from knowing when the laundry is dry, leaving clothes either damp or overcooked.
To counter this problem, clean the sensors with a cotton ball and rubbing alcohol every few months, or anytime the auto-dry cycles seem to be missing the mark. The sensors are usually located just inside the dryer, underneath the door. Look for thin metal bars, about 6 inches long, with a slight curve that follows the contour of the door. If you don’t see the sensors there, check your owner’s manual for their location.
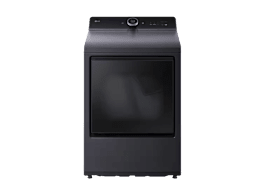
Electric Dryers With Moisture Sensors and Duct Blockage Indicators
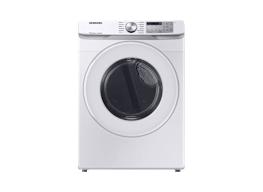
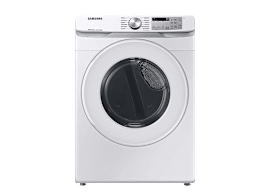
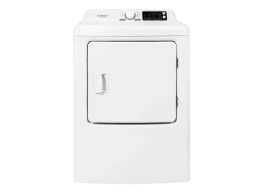
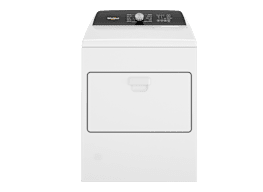
The following dryers score at the top in our performance tests and are equipped with both moisture sensors, which can aid in drying efficiency, and duct blockage indicators, which alert you to a clogged vent duct.
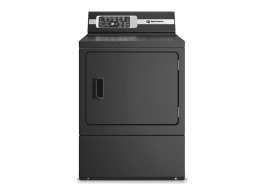
Gas Dryers With Moisture Sensors and Duct Blockage Indicators
How to Make Appliances Last
Want to keep your household appliances in tip-top shape? On the "Consumer 101" TV show, Consumer Reports explains the most important thing you can do to keep these machines working properly.


